First PoC.
Z-Wave from
scratch.
Grant here. I've been heads-down getting up to speed on the whole stack, and this stretch was focused on Z-Wave -- the goal was getting our software to talk to the front door lock for the first time. Z-Wave was new territory for me, so a lot of time went into the protocol before any code: security classes, mesh topology, what the difference between S0 and S2 actually means for a front door lock. The code itself came together faster than I expected. The hours went elsewhere -- getting this specific lock model to pair cleanly, plus the standard tooling and repo organization the rest of the build will sit on.
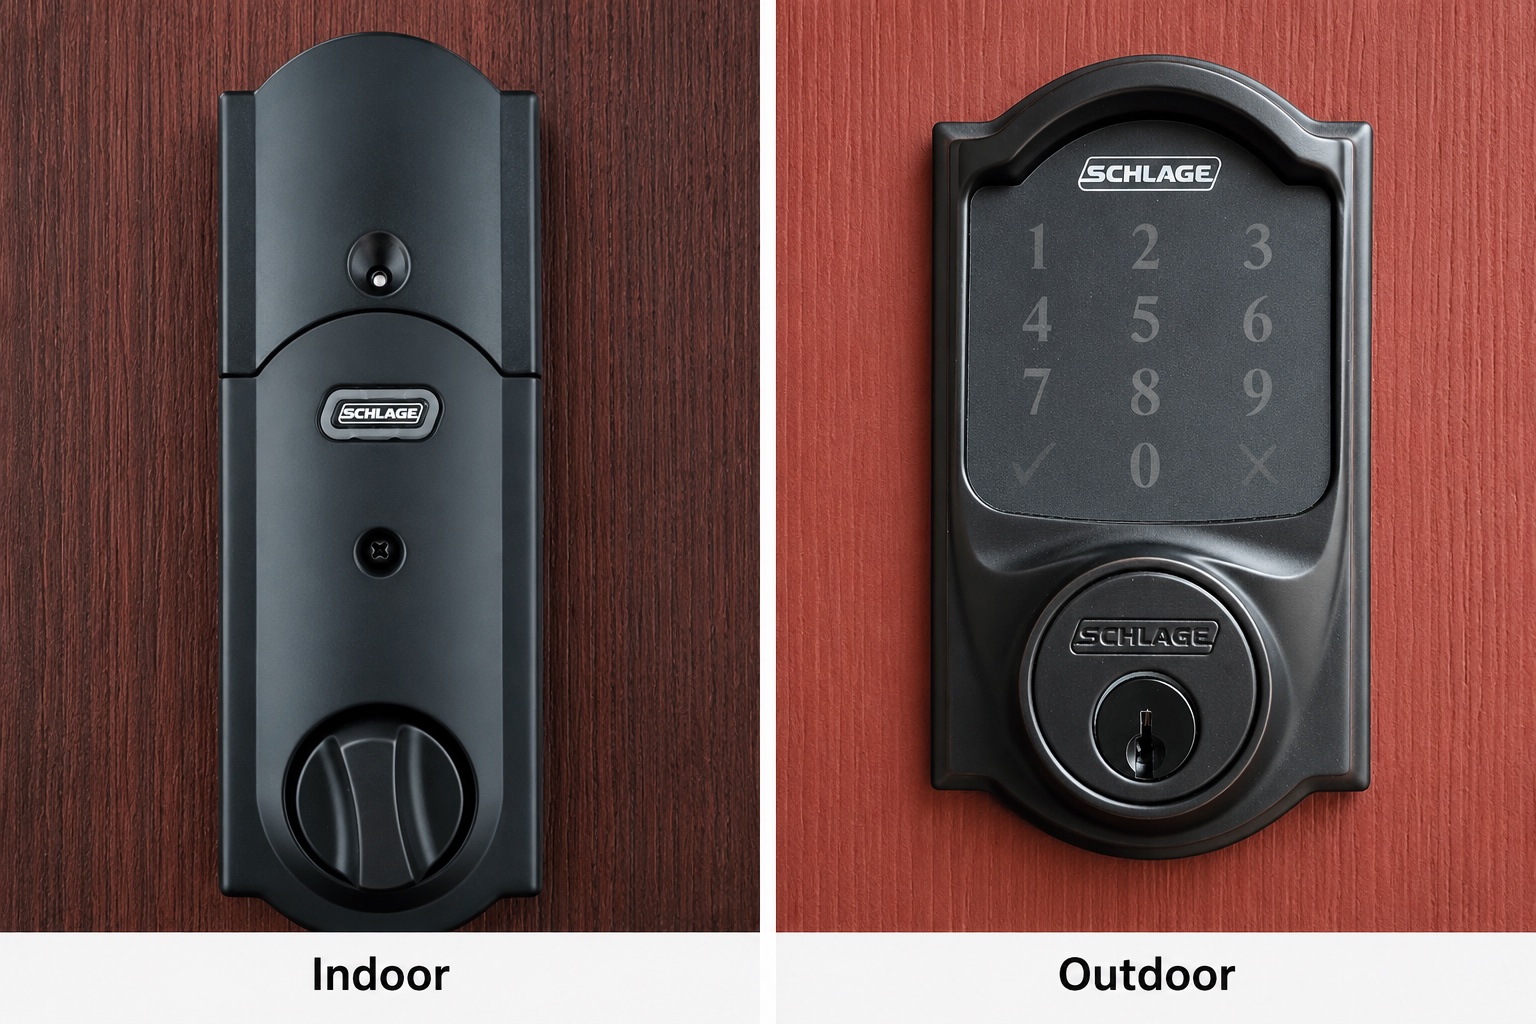
Post #003 went up a few weeks ago with an ordered hardware list and our initial thoughts on the protocol stack. The Schlage Z-Wave Plus deadbolt was already ahead of the list -- on the front door before the project got going. Already installed and in use. That's where we started.
The work lives in a new zwave/ directory: a Node.js WebSocket server bridging the USB stick to the network, a Python CLI on top of that, pairing and exclusion scripts, and cross-platform launchers. I opened a pull request on June 3 with the whole layer in place. Lock and unlock commands have been tested against the physical hardware, with the deadbolt physically engaging and reporting state back to the controller. The code itself came together faster than the timeline would suggest -- around 90% of it was clear once the architecture was decided. Pairing was problematic and finally worked after a full reset of the lock.
The pace has been slower than we hoped. Pairing ran into a series of snags: model-specific documentation for the BE469ZP wasn't easy to find, so early attempts worked from general Z-Wave docs and got the DSK PIN entry wrong; that left stale nodes from failed inclusions; an interview stalled mid-run when the battery-powered lock went to sleep. More friction than expected before the first command ran. The first integration is hopefully the hardest: building out a new directory from scratch and working through the pairing edge cases is where most of the time went.
Z-Wave devices talk to the controller over a USB serial connection. You can't drive that directly from Python without going through a bridge layer -- so the architecture is two-tier.
@zwave-js/server v3.9.0 runs on the same machine as the USB stick. It handles the serial protocol, S2 encryption, device interviews, and node state. Listens on ws://127.0.0.1:3000 -- localhost only, not exposed to the network.zwave-js-server-python connects to that WebSocket server. All four Python scripts -- lock.py, pair.py, exclude.py, cleanup.py -- go through this client library. The Python layer is where commands and control logic live.The Node.js server auto-generates S2 security keys on first run and stores them in server/cache/keys.json. That file is gitignored intentionally -- it's how the controller proves it owns the network. Back it up, never commit it. Lose those keys and every paired device has to be excluded and re-paired from scratch.
The Z-Wave network topology lives on the USB stick itself, not in software. Machine migration means copying the security keys file and physically moving the stick. The stick is what holds the network; the software just talks to it.
lock.py has five commands, all driven by Z-Wave's Door Lock command class (CC 98).
Prints all nodes: ID, device description, interview stage, and whether they expose CC 98 (the lock command class). Useful for confirming the node ID after pairing and checking whether the interview completed.
Reads the lock's currentMode value from the device. 255 = LOCKED, 0 = UNLOCKED. The lock only reports state when it wakes up, so status reads may lag after the lock has been idle. Manually wake it (press any keypad button) to get a fresh reading.
Sends a lock command by writing to the targetMode value, then calls status to confirm. The Schlage's built-in alarm events (forced entry, incorrect keypad codes) are also visible in Home Assistant through the same Z-Wave JS integration.
Sends an unlock command, then confirms with status. Same flow as lock.
Triggers a fresh interview for a node. Useful when a device didn't fully configure on first pairing. Keep the lock awake while the interview runs -- press keypad buttons every 10-15 seconds. Battery-powered Z-Wave devices sleep aggressively and the interview stalls if the device goes offline mid-run.
The lock is currently node 19 on this network. The node ID is set via the ZWAVE_LOCK_NODE_ID environment variable. list is the only command that works without it -- all others require the ID to be set.
The Schlage BE469ZP requires S2 security for pairing. S2 is Z-Wave's encrypted command channel. Without it, lock commands go out in the clear and anything in range can listen or replay them.
The S0 vs S2 distinction was where the protocol research got interesting. S0, Z-Wave's older security model, passes the network key in the clear during the pairing handshake -- anyone listening at inclusion time can capture it. S2 replaces that with an out-of-band verification step: the DSK PIN printed on the device confirms physical access to the hardware being added, so the key exchange can't be sniffed without also being physically present. Using S0 on a front door lock is technically encrypted and practically not secure.
The pairing script explicitly requests InclusionStrategy.SECURITY_S2 and handles both sides of the S2 handshake automatically: granting security classes when the controller asks, and entering the DSK PIN -- a 5-digit code printed on the label on the back of the lock. The PIN confirms you have physical access to the device being paired. It can be pre-set as ZWAVE_DSK_PIN in the environment or entered interactively when the script runs.
Skip S2 and the lock will take commands from my script -- and from anyone nearby who knows Z-Wave. That's fine for a lamp. Not for the front door.
Before starting inclusion, the pairing script checks for nodes stuck in an incomplete interview from previous failed attempts and removes them. A separate cleanup.py handles more stubborn cases -- nodes that never finished their interview but are still responding to pings.
If the lock shows a solid red LED after pairing, the usual cause is a wrong DSK PIN or missing security keys. The correct fix is to run the exclusion script to remove the device cleanly, then re-pair from scratch. Retrying inclusion without excluding first leaves stale network state.
This system is built to help a family member keep living safely on her own. The front door lock is a real data point -- not a convenience feature.
Knowing whether the front door is locked tonight is a different question from knowing whether someone walked through it. A door contact tells you it opened and closed; the lock state tells you whether it's secured. For an elder care install where you can't always be there to check, that gap matters. Being able to lock it remotely if the answer is no closes something a camera system can't.
The Schlage runs on Z-Wave 908 MHz, which passes through interior walls better than the 2.4 GHz band the Zigbee sensors use. The range was an open question before pairing -- the hub machine is at the back of the house and the front door is at the other end. If Z-Wave couldn't bridge that gap, "remote" lock control would mean running a second machine near the door to relay commands, which is not actually remote. The range held up once the lock paired, and that was a genuine relief. It connects directly to the Zooz ZST39 USB stick already in the hardware baseline from post #001 -- no separate hub, no extra coordinator. Battery powered, so no wiring needed at the door.
Lock state, alarm events, and remote lock/unlock all surface in Home Assistant through the Z-Wave JS integration as standard entities and automatable events. The Python scripts I built are for direct control and testing during development. Production use runs through Home Assistant like everything else.
Removes a node from the Z-Wave network through a proper exclusion handshake. Use before re-pairing if the lock shows a red LED after inclusion -- that's the sign of wrong DSK PIN or missing keys, and the fix is to exclude and re-pair rather than retry.
Force-removes nodes stuck in an incomplete interview. More aggressive than exclude.py -- removes a node even if it's still responding to pings, as long as its interview never finished. Run before pair.py to clear junk nodes from previous failed pairing attempts.
PowerShell and bash launchers for the Node.js server. Both auto-install npm dependencies on first run if node_modules/ is absent. Port overrides via arguments or environment variables. The bash version uses exec to replace the shell process rather than running the server as a child -- cleaner for process management.
A SETUP.md covers getting the full stack running on a new machine given an already-paired lock. A README.md covers all environment variables, common failure modes, and machine migration. The two documents together mean someone coming to the repo cold can get the stack running without asking questions.
What comes next
The lock layer is in review. In parallel, sensor setup continues -- door contacts on the exterior doors and fridge, motion and presence sensors in the main living areas -- alongside standing up the Home Assistant instance on the dedicated machine. Those are the inputs for the first real automations: is she up at her usual time, is the fridge getting opened, is the temperature staying in range.
The lock responding to a command is a smaller milestone than a full running system, but it's the first time the hardware has done something on instruction.
Post #005 plans to start to take on a harder integration: the PoE camera. Unlike the lock, a camera is always generating data. Getting that feed into the stack and doing something useful with it is the next technical challenge. The plan will likely start with a default YOLO model and build from there.